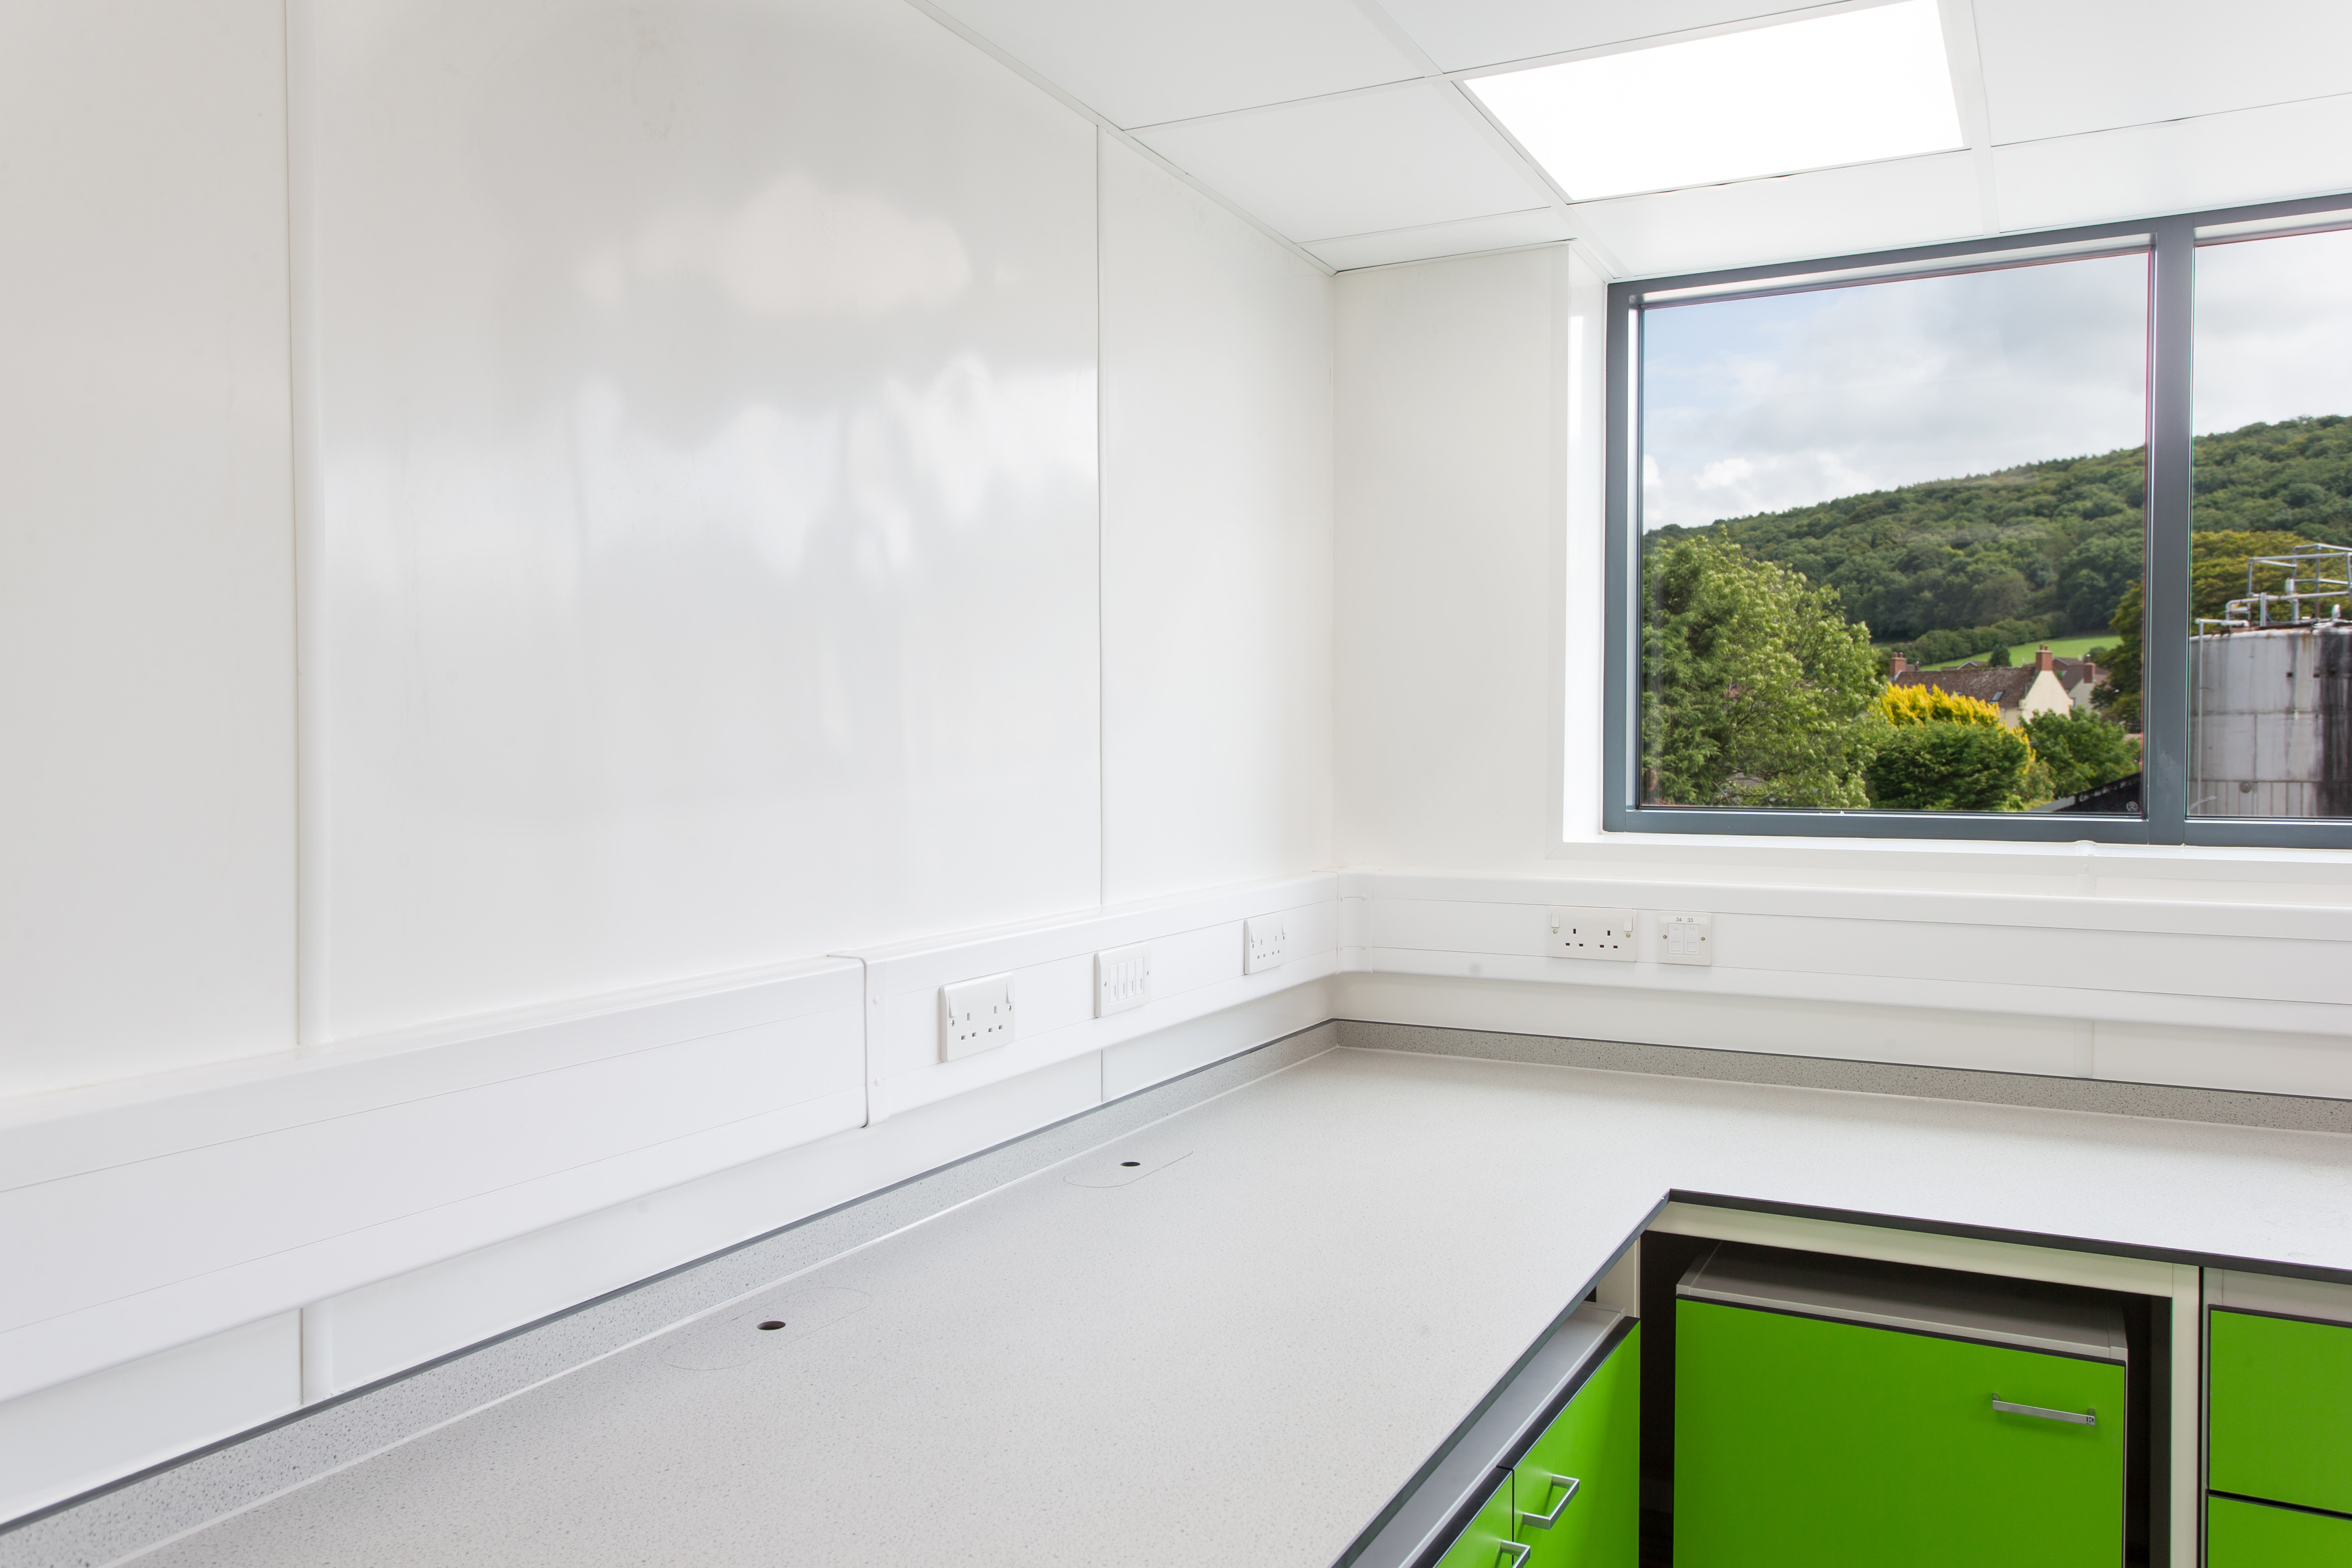
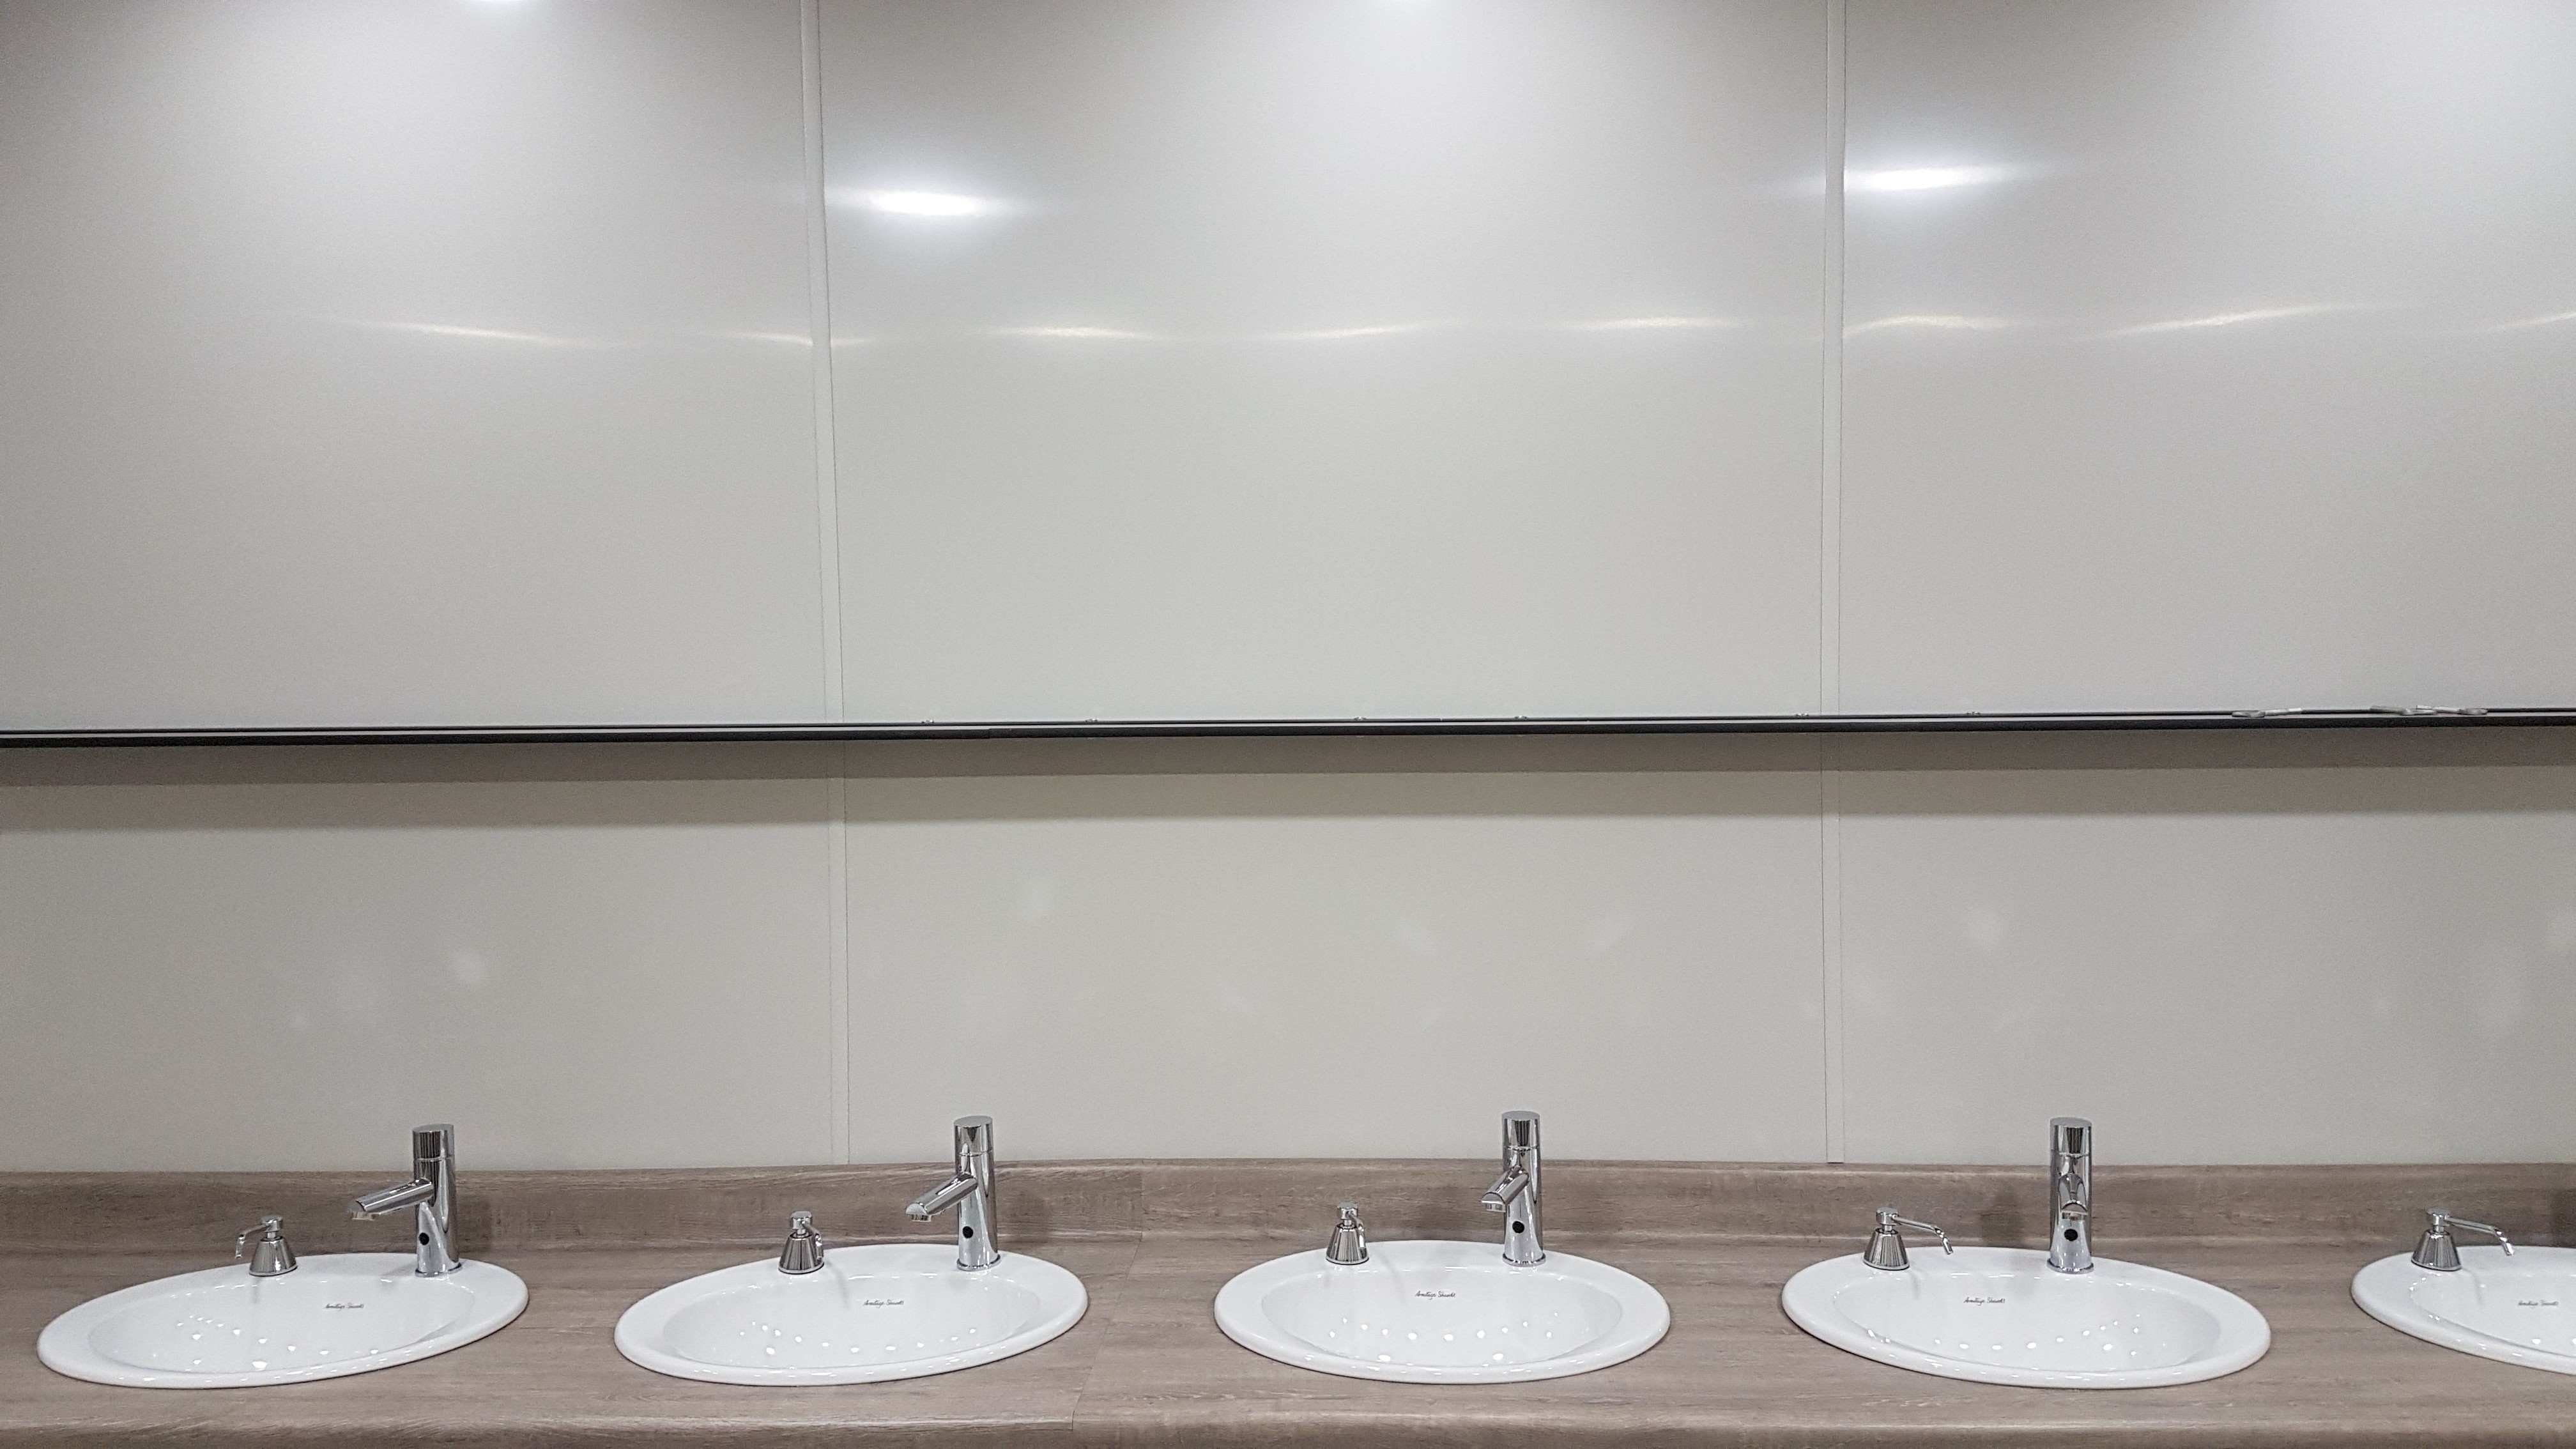
How To Install Hygienic Wall Cladding

Installation of our hygienic cladding sheets is carried out using range-specific trims such as starters, angles and joint trims, exactly as you would fit shiplap. However there are a few key differences as outlined below.
 How to Fix Hygienic Wall Cladding
Whilst you can use the plastic rivets for small sections of hygienic wall cladding, we recommend using Stormgrip adhesive for full sized sheets (1220mm x 2440mm).
Preparation
- Surfaces must be clean, dry and free from any contaminants liable to impair adhesion.
- New build structures should be allowed to dry out for at least 6 weeks prior to applications of STORMGRIP and should then have a moisture content on the surface and in the core of less than 14%.
- Very porous substrates may be sealed with a dilution of PVA. Ensure that the PVA is completely dried out (at least 8 hours) prior to application of STORMGRIP. All materials should be allowed to acclimatise for at least 24 hours before bonding.
- The sheeting, air temperature and substrate should all be close to the final operational temperature of the building prior to application to avoid stresses from expansion of the plastic sheeting.
Method of Application
STORMGRIP is supplied as a 6.5kg pack. The mix ratio is 12:1 by weight. Normally, Part A is contained in a 5L bucket and part B in a sealed packet. Once mixed the pot life is 10 minutes @ 20°C (longer at lower temperatures) and so the substrate application should be complete before mixing.
- Add all of part B to the part A and stir until a uniform colour is achieved ensuring that the sides are scraped down often during mixing.
- Apply adhesive to the entire hygienic cladding sheet. To achieve 100% even coverage, use a 6mm notched trowel and apply the sheet immediately to the substrate smoothing outwards from the centre. Flat plastered walls can have a 4-5mm notched trowel.
- Leave to cure for at least 4 to 6 hours before removing the protective film.
Bonding
Apply pressure as necessary to hold the substrates in contact until curing has occurred. Allow 4-6 hours for full cure (longer if temperatures are below 15°C). Mixed adhesive should be used within 30 minutes.
Coverage
For cladding walls with PVC sheeting, use 1 x 6.5kg tub per 1220mm x 2440mm sheet.
What Saw Should I Use with Hygienic Cladding?
For both hand saws and electric saws you should use blades with a minimum tooth set, ideally 8 to 10 teeth per inch. Prevent overheating of the hygiene cladding by feeding it slowly to the saw.
Machining PVC Cladding Sheets
You should use machining equipment at low speeds when turning and shaping this product, and ensure that any machine chips are properly removed from the working surface.
Can I Use A Drill on Hygiene Cladding?
You can use conventional drills on our hygiene food grade and general use PVC Wall Cladding sheets, but be sure to remove any free drill chips in our to prevent the sheet from overheating. We would also recommend that the drill speed is set to low for the same reason.
If you require any further information about this product then please do not hesitate to contact us, or shop hygienic wall cladding.


